
In this article, we’ll show you how to build your digital visiting card for free using clinksite digital visiting card builder. It's super easy and after reading our step-by-step guide, you could have a fully-finished digital visiting card in just 15mintues!
Either you are a company or individual, this digital visiting card is for all type of business and persons. If you are a company you can create as many digital business card as you want to showcase different profiles for each employee or multiple layout theme based business cards for individual employee.
Editor allows you to create a beautiful digital business card in just a couple of minutes or so. This makes it ideal for:
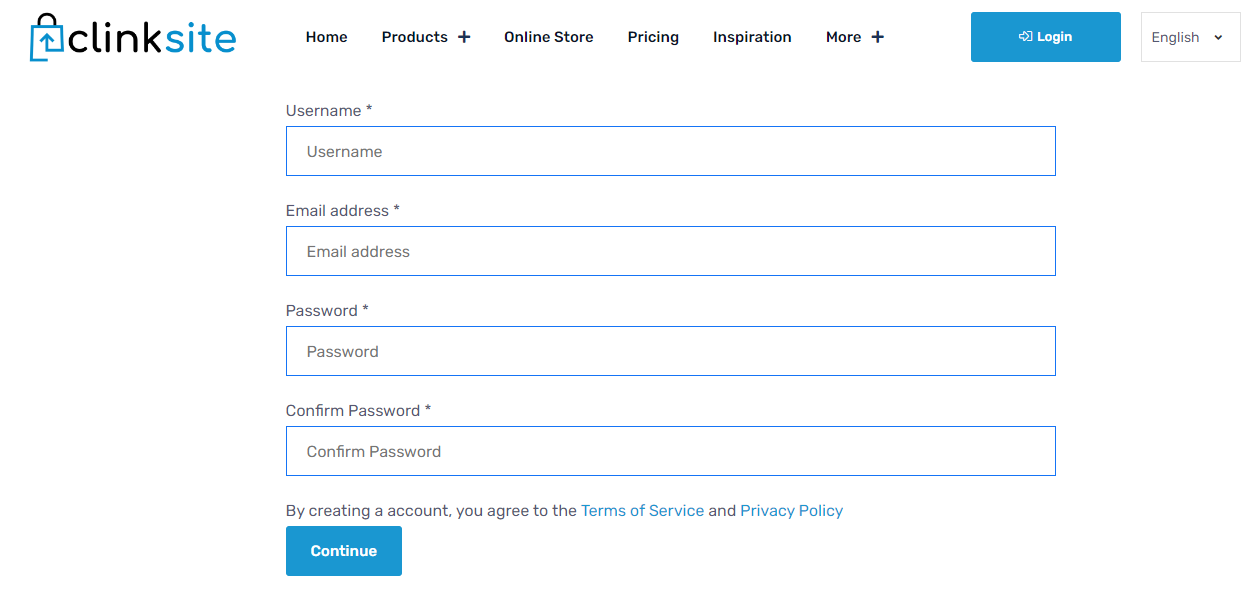
STEP 1) ClinkSite is there for you, then a lot of your work is already done. All you need to do now is head to Clinksite pricing page and select monthly plan for free or else you can have some more benefits with yearly or one-time payment lifetime plan. if you wish to start a free trial or purchasing a plan and then click on button at the bottom of package accordingly, and create your account. ClinkSite will ask for your username (for path based url), email, and password. Once you fill all the information, just click on sign up. On the second step fill the billiing details and sit relax - Cheers! you are successfully registered on ClinkSite.
You can also choose a free plan, but you’ll have to sacrifice a professional domain name, which give websites a more amateur look.
We recommend the Lifetime plans because they open up more business opportunities, As they are a very cheaper than and has ability to your domain for your branding.
If you add your custom domain then the employee visiting card will be available with your domain name which will bring a quite good impression on your clients. Example : yourdomain.com/....
Once you are in you can go to "vcard management" tab in left sidebar to start generating digital business card.
Click on Add Vcard section to create new digital business card. Select the theme according to your category. You can always change theme without losing your data in just one click.
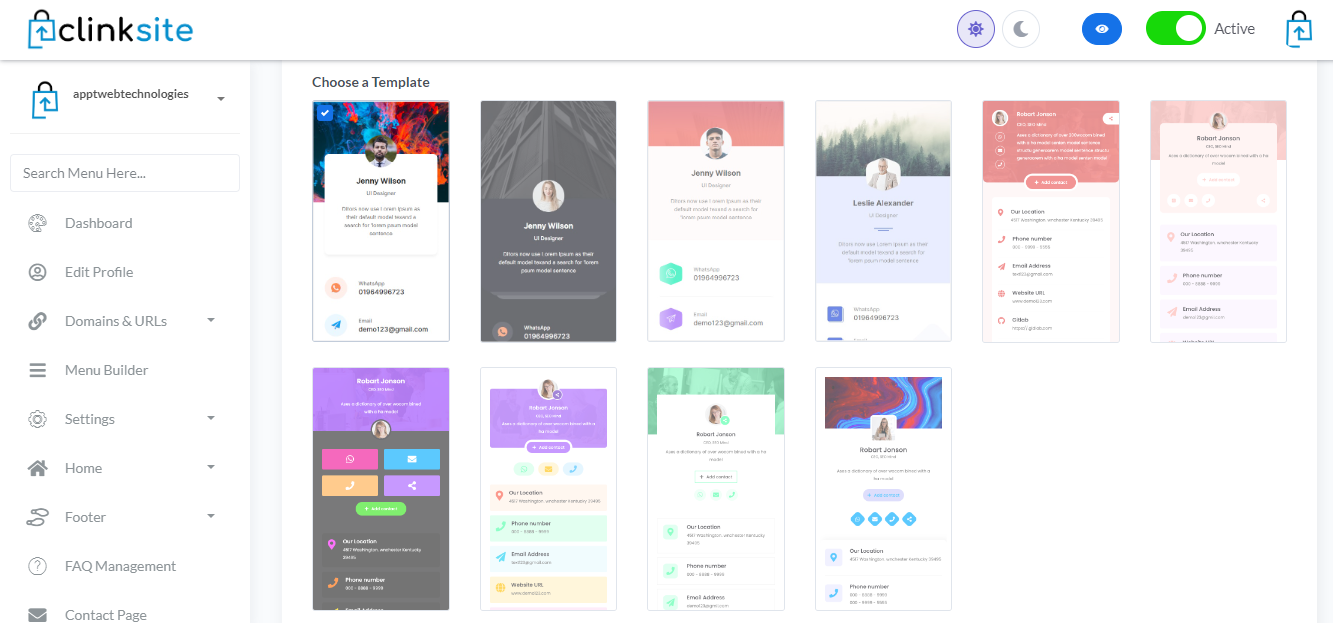
Step 3) When you begin editing your site, the first thing you’ll want to do is update your company details on the add vcard form itself. You can change logo, background images, cover images, background colors to match it to your brand.
To add your social media information or some other links to you card you can tap on "Add Information" button and then add the values for icon, icon-color, value, url to redirect on click and so on.
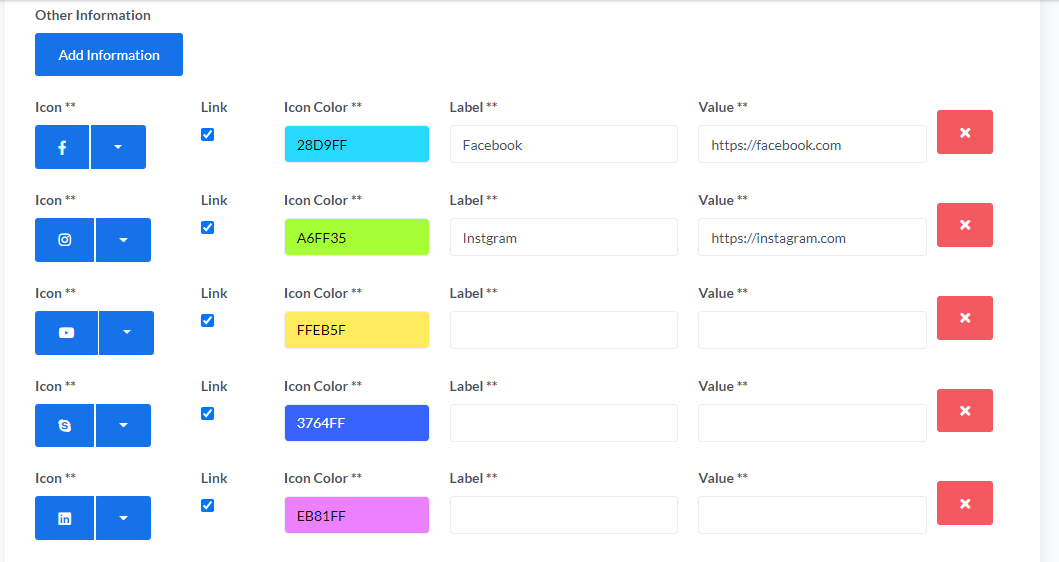
Add as many links as you want on your digital visiting card.
Step 4) Click on save button and it will redirect to manage all vcard tab where you have option for getting the create digital visiting card URL, and add more section to it.

In next few steps you will be updating more sections in your digital visiting card and manage sections show/hide with there language keywords, preferences.

Information : Now you have saved your card, you have live preview while updating just open the url in new tab. We have direction option also like right to left or left to right. On clicking manage button you have a list of options to checkout. Information tab has editing the vcard core options like direction, theme, basic company information, links added to digital visiting card, cover image, description, etc.
Colors : The next option is of changing colors for your digital visiting card. Where you define button colors base color, link color, email, address and many more color related setting to match the brand color for your digital visiting card.
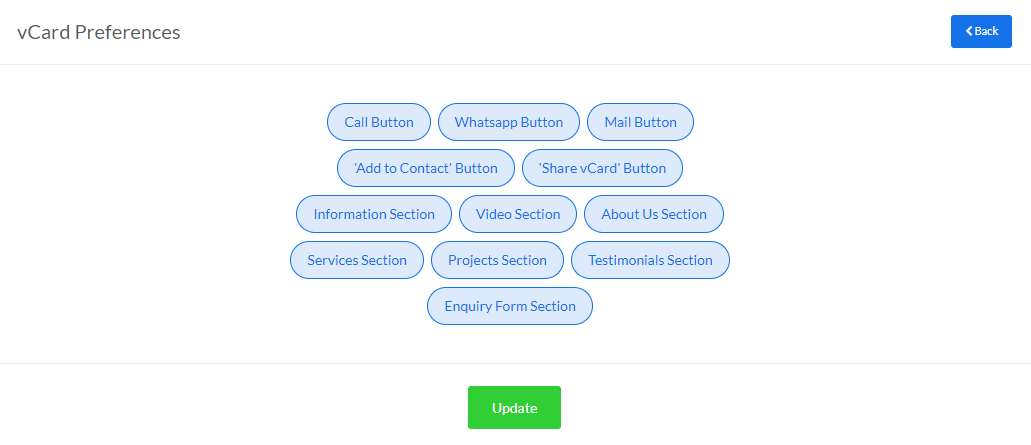
Preferences : We have added option where you can manage what section needs to be displayed on digital visiting card. Here you can show/hide sections as per your need.
Services : Here all the services can be managed. If you are an organization then you can add the services for this particular employee or else add the entire services for individual. You can also hide the section from preferences tab.
Add rich content for the services as image, external or internal links, description, title.
You can add as many services as you want to add. We have two layouts one is scrolling and another is slider. You can use any of the layout. Both layouts are categorized with "Services & Projects" where you can easily change the language for both the keywords from language tab.
You can add any marketing or sales collateral PDFs, videos, links to your business card with ClinkSite under the information tab.
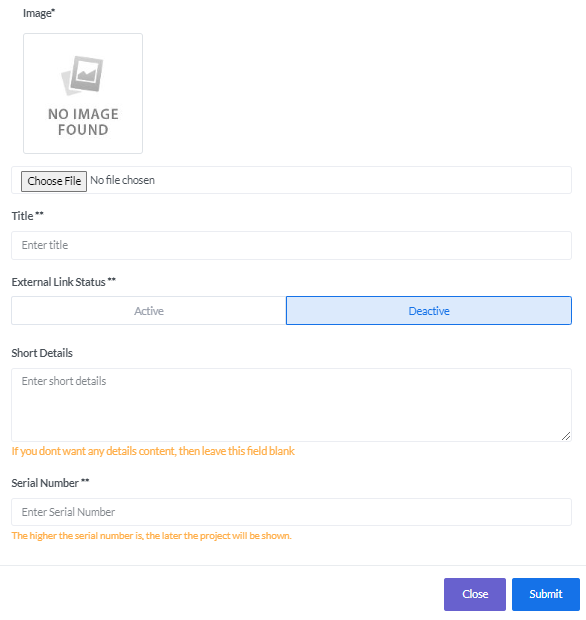
Projects : Here all the projects or portfolio can be managed. If you are an organization then you can add the portfolio for this particular employee or else add the entire portfolio for individual. You can also hide the section from preferences tab.
Add rich content for the services as image, external or internal links, description, title.
Testimonials : Testimonials give you the opportunity to provide proof about your services. Make it easy for potential clients to see what others are saying about you and your company by adding testimonials to your digital visiting card.
Gathering testimonials might take some time and a little bit of effort, but if you are strategic about getting testimonials and leveraging them to the fullest, your efforts will be rewarded with new clients and projects.
When receiving testimonials, you have options to add :
Strive to obtain video testimonials as well as written ones. Videos can be engaging and are often more credible, as there is a real person who potential clients can see and hear giving the testimonial instead of just a person’s name under a quote.
Step 5) Mobile Optimization
Making sure the mobile version of your site looks great is vital to its success, since mobile is pretty much taking over the world – these days, 40% of people search only on a smartphone.
Thankfully, with Clinksite digital visiting card tool, mobile optimization is as easy as it is important. Since we have pre designed templates and sections, we already optimized our templates for you. You do not have to worry about for mobile optimization.
We had added "Add to Contacts" option for every mobile type such that if anyone want to save your details they do not have to type any of the details, just clicking on "Add to Contacts" will do rest of the work while downloading contact file to import.
Step 6) Choose a Domain Name
Confused for your branding details, we are providing an option where you can connect your custom domain, and never let your customers know that you are using any third party tool to manage your digital visiting cards.
You can always take benefit of every type of url, listed below, We never force our branding name or logo on our customers to pay us more, we leived off all the branding in every plan of ours.
We suport path based, custom domains and subdomain based url's. If you do not want to connect your domain still you can have your website live with us.
Example : yourname.clinksite.com/vcard/..
Example : clinksite.com/yourname/vard/..
Example : yourdomain.com/vcard/..
You can find all the relevant details in Domain & URL Section in left sidebar.
But if you’re going for a more professional look, then we recommend connecting your custom domain to our panel!
The steps to connecting custom domain can be find in the Domain & URL section -> custom domain tab itself.
Has the mention of Clinksite Multi Builder Tool sent you into a panic? Don’t worry – we’ve got a ton of guides to help you out!
How to Use ClinkSite Business Website Builder in 2022 ?
