

In this article, we’ll show you how to build your website using clinksite business website builder. It's super easy and after reading our step-by-step guide, you could have a fully-finished website in just one to two hours!
Editor allows you to create a beautiful website in just a couple of hours or so. This makes it ideal for:
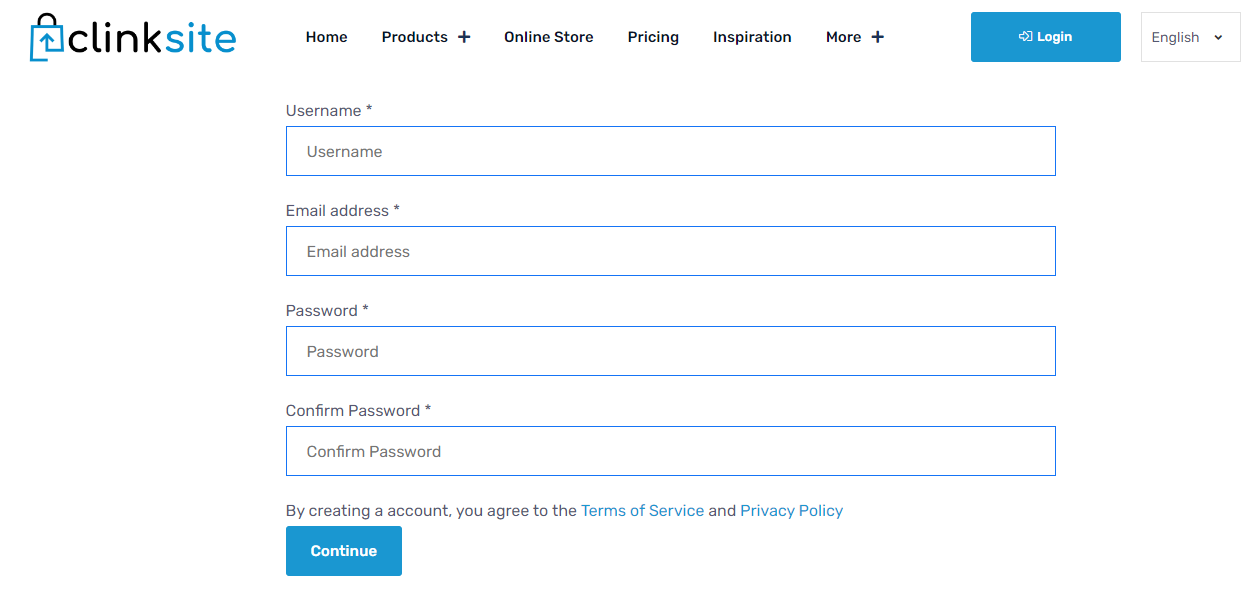
STEP 1) ClinkSite is there for you, then a lot of your work is already done. All you need to do now is head to Clinksite pricing page and select if you wish to start a free trial or purchasing a plan and then click on button at the bottom of package accordingly, and create your account. ClinkSite will ask for your username (for path based url), email, and password. Once you fill all the information, just click on sign up. On the second step fill the billiing details and sit relax - Cheers! you are successfully registered on ClinkSite.
Clinksite offers nine pricing plans, so there are a few different places you can start. As with all subscriptions, the more you pay, the more features you get. You can also choose a free plan, but you’ll have to sacrifice a professional domain name, which give websites a more amateur look. Or else you can choose trial for every plan to checkout if that plan pricing fits for you.
We recommend the Lifetime plans because they open up more business opportunities, As they are a very cheaper than some plans offered by ClinkSite's competitors.
Once you are in you can go to settings and adjust your logo, favicon, theme-color, preloaders etc.
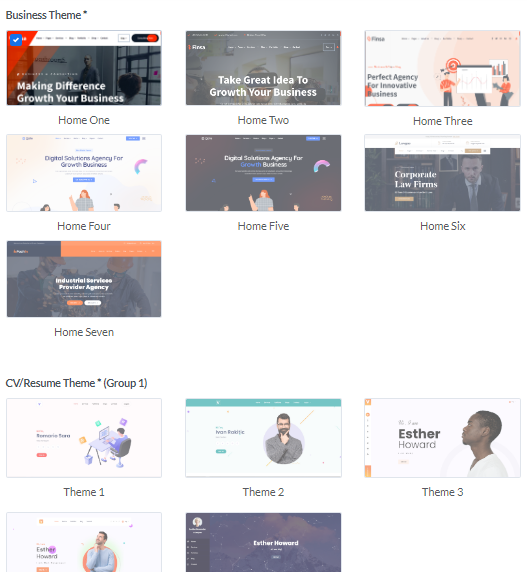
Select the theme according to your category, we have categorized our themes in three category as : Business, Portfolio, CV. Once you are ready with theme selection, then you are ready to put your content and images.
Step 3) When you begin editing your site, the first thing you’ll want to do is update your company details, contact details, then start putting the content from HomePage.
Step 4) Go to home tab in left sidebar and start filling your details and images, videos as per your requirement.
Step 5) Once you’ve uploaded and added the image you want, you can drag the corners to resize it, or click and drag to move it to a new location entirely.
Step 6) Editor : Personalize the background
You can choose the template as per your requirement of header section. Like video background, side image, sliders. Update the content for each section accordingly.
Step 7) We have added pre-built set of pages with pre defined sections for each and every type of page like portfolio, services, team, faq, contact, about, blogs etc. If your requirement is not fulfilling with these set of pages, you can always add new page from left sidebar Pages tab.
Step 8) Editor: Add Pages
Once you’ve created a stunning homepage, there are a few other pages you should add to ensure your website has everything visitors are looking for – an “About” page and a “Contact Us” page, for example.
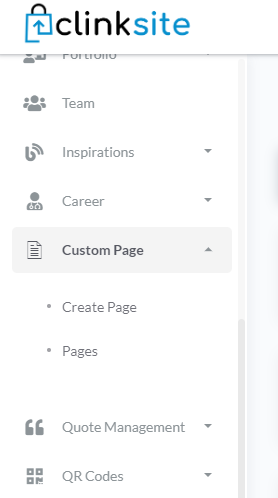
To add a page to your site ClinkSite, click the Pages tab in the left sidebar, then click “Pages -> Create Page.”
From the resulting menu, you’ll be able to add pages and customize them to serve different purposes. You can tweak your SEO settings and rename, update content with GUI or code based panel, copy, or even hide a page.
Step 9) Editor: Set Up a Blog
This isn’t a necessity, but lots of businesses like to add a professional-looking blog page to their website to keep their audience in the loop with what’s going on.
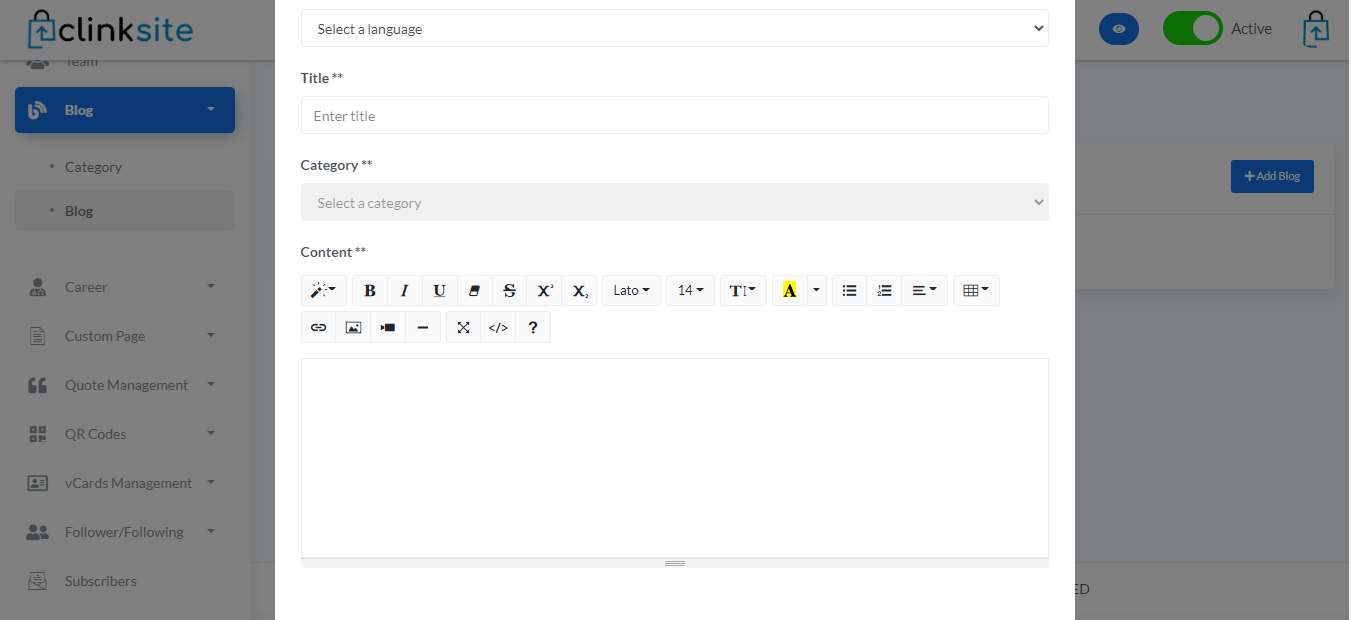
To add a blog, click on the Blog tab and add blog option in the left-hand toolbar. Here, inviting you to add a blog to your website. You’ll be given a editor to add dynamic based content with images, videos, block quote, heading and many more things to style it in your way. Apart from this you have the options to create the blog categories as per your demand. Choose the one best-suited to your brand.
Of course, there are a wealth of blogging apps available on the app market, but we recommend Clinksite Blog for its ease of use and sleek appearance.
When you’re ready to create your first blog post, click on the blog icon in the toolbar, and select ‘Create a Post’. A window will open that looks a bit like a Word document, and this is where you can start writing.
We had thrown in some handy features, and button used for sharing content online.
Step 10) Editor: Optimize for Search Engines
Editor makes it straightforward to work with your site’s SEO (Search Engine Optimization) capabilities. On the setting tab -> SEO, you had all the pre built pages SEO's meta available to add or update. Apat from that each blog and user created pages SEO's meta can be managed by user from the same form where you can edit or update the same section.

Step 11) Editor: Mobile Optimization
Making sure the mobile version of your site looks great is vital to its success, since mobile is pretty much taking over the world – these days, 40% of people search only on a smartphone.
Thankfully, with Clinksite website builder tool, mobile optimization is as easy as it is important. Since we have pre designed templates and sections, we already optimized our templates for you. You do not have to worry about for mobile optimization.
Step 12) Editor: Choose a Domain Name
Before connecting your custom domain, you can always check live preview for your website.
We suport path based and subdomain based url's. If you do not want to connect your domain still you can have your website live with us.
Example : yourname.clinksite.com
Example : clinksite.com/yourname
You can find all the relevant details in Domain & URL Section in left sidebar.
But if you’re going for a more professional look, then we recommend connecting your custom domain to our panel!
The steps to connecting custom domain can be find in the Domain & URL section -> custom domain tab itself.
Has the mention of domain names sent you into a panic? Don’t worry – we’ve got a ton of guides to help you out!
